Step-by-Step Guide to Creating a Beautiful and Inviting Addition to Your Landscape
A stone pathway can add a touch of charm and elegance to any landscape, creating a welcoming and inviting atmosphere for your outdoor space. Building your own stone pathway is a rewarding and achievable project that allows you to showcase your creativity and enhance the beauty of your garden. In this step-by-step guide, we’ll walk you through the process of constructing a stunning DIY stone pathway.
Step 1: Plan and Design
Before you begin your project, take the time to plan and design your stone pathway. Consider the pathway’s purpose, such as connecting different areas of your garden, leading to a focal point, or providing a scenic route through your landscape. Measure the pathway’s length and width to determine the quantity of materials needed.
Step 2: Gather Materials and Tools
Next, gather the materials and tools required for your stone pathway project. You will need the following:
Stones
Choose stones that complement the style of your landscape. Natural stones like flagstone, slate, or granite are popular choices for their durability and natural beauty.
Base Material
You’ll need a layer of crushed stone, gravel, or sand to create a stable base for your pathway.
Edging
Optional, but recommended to keep the stones in place. Edging materials can include plastic or metal strips, brick pavers, or larger stones.
Shovel, rake, and wheelbarrow
Essential tools for preparing the pathway area and moving materials.
Rubber mallet or hammer
For leveling and securing the stones.
Step 3: Prepare the Pathway Area
Clear the pathway area of any existing vegetation, rocks, or debris. Use a shovel and rake to level the ground and remove any bumps or depressions. The ground should be even and compacted to create a stable foundation for your stone pathway.
Step 4: Lay the Base Material
Spread a layer of crushed stone, gravel, or sand over the prepared pathway area. Aim for a depth of about 2 to 3 inches for a stable base. Use a rake to even out the base material, ensuring it’s level and compacted.
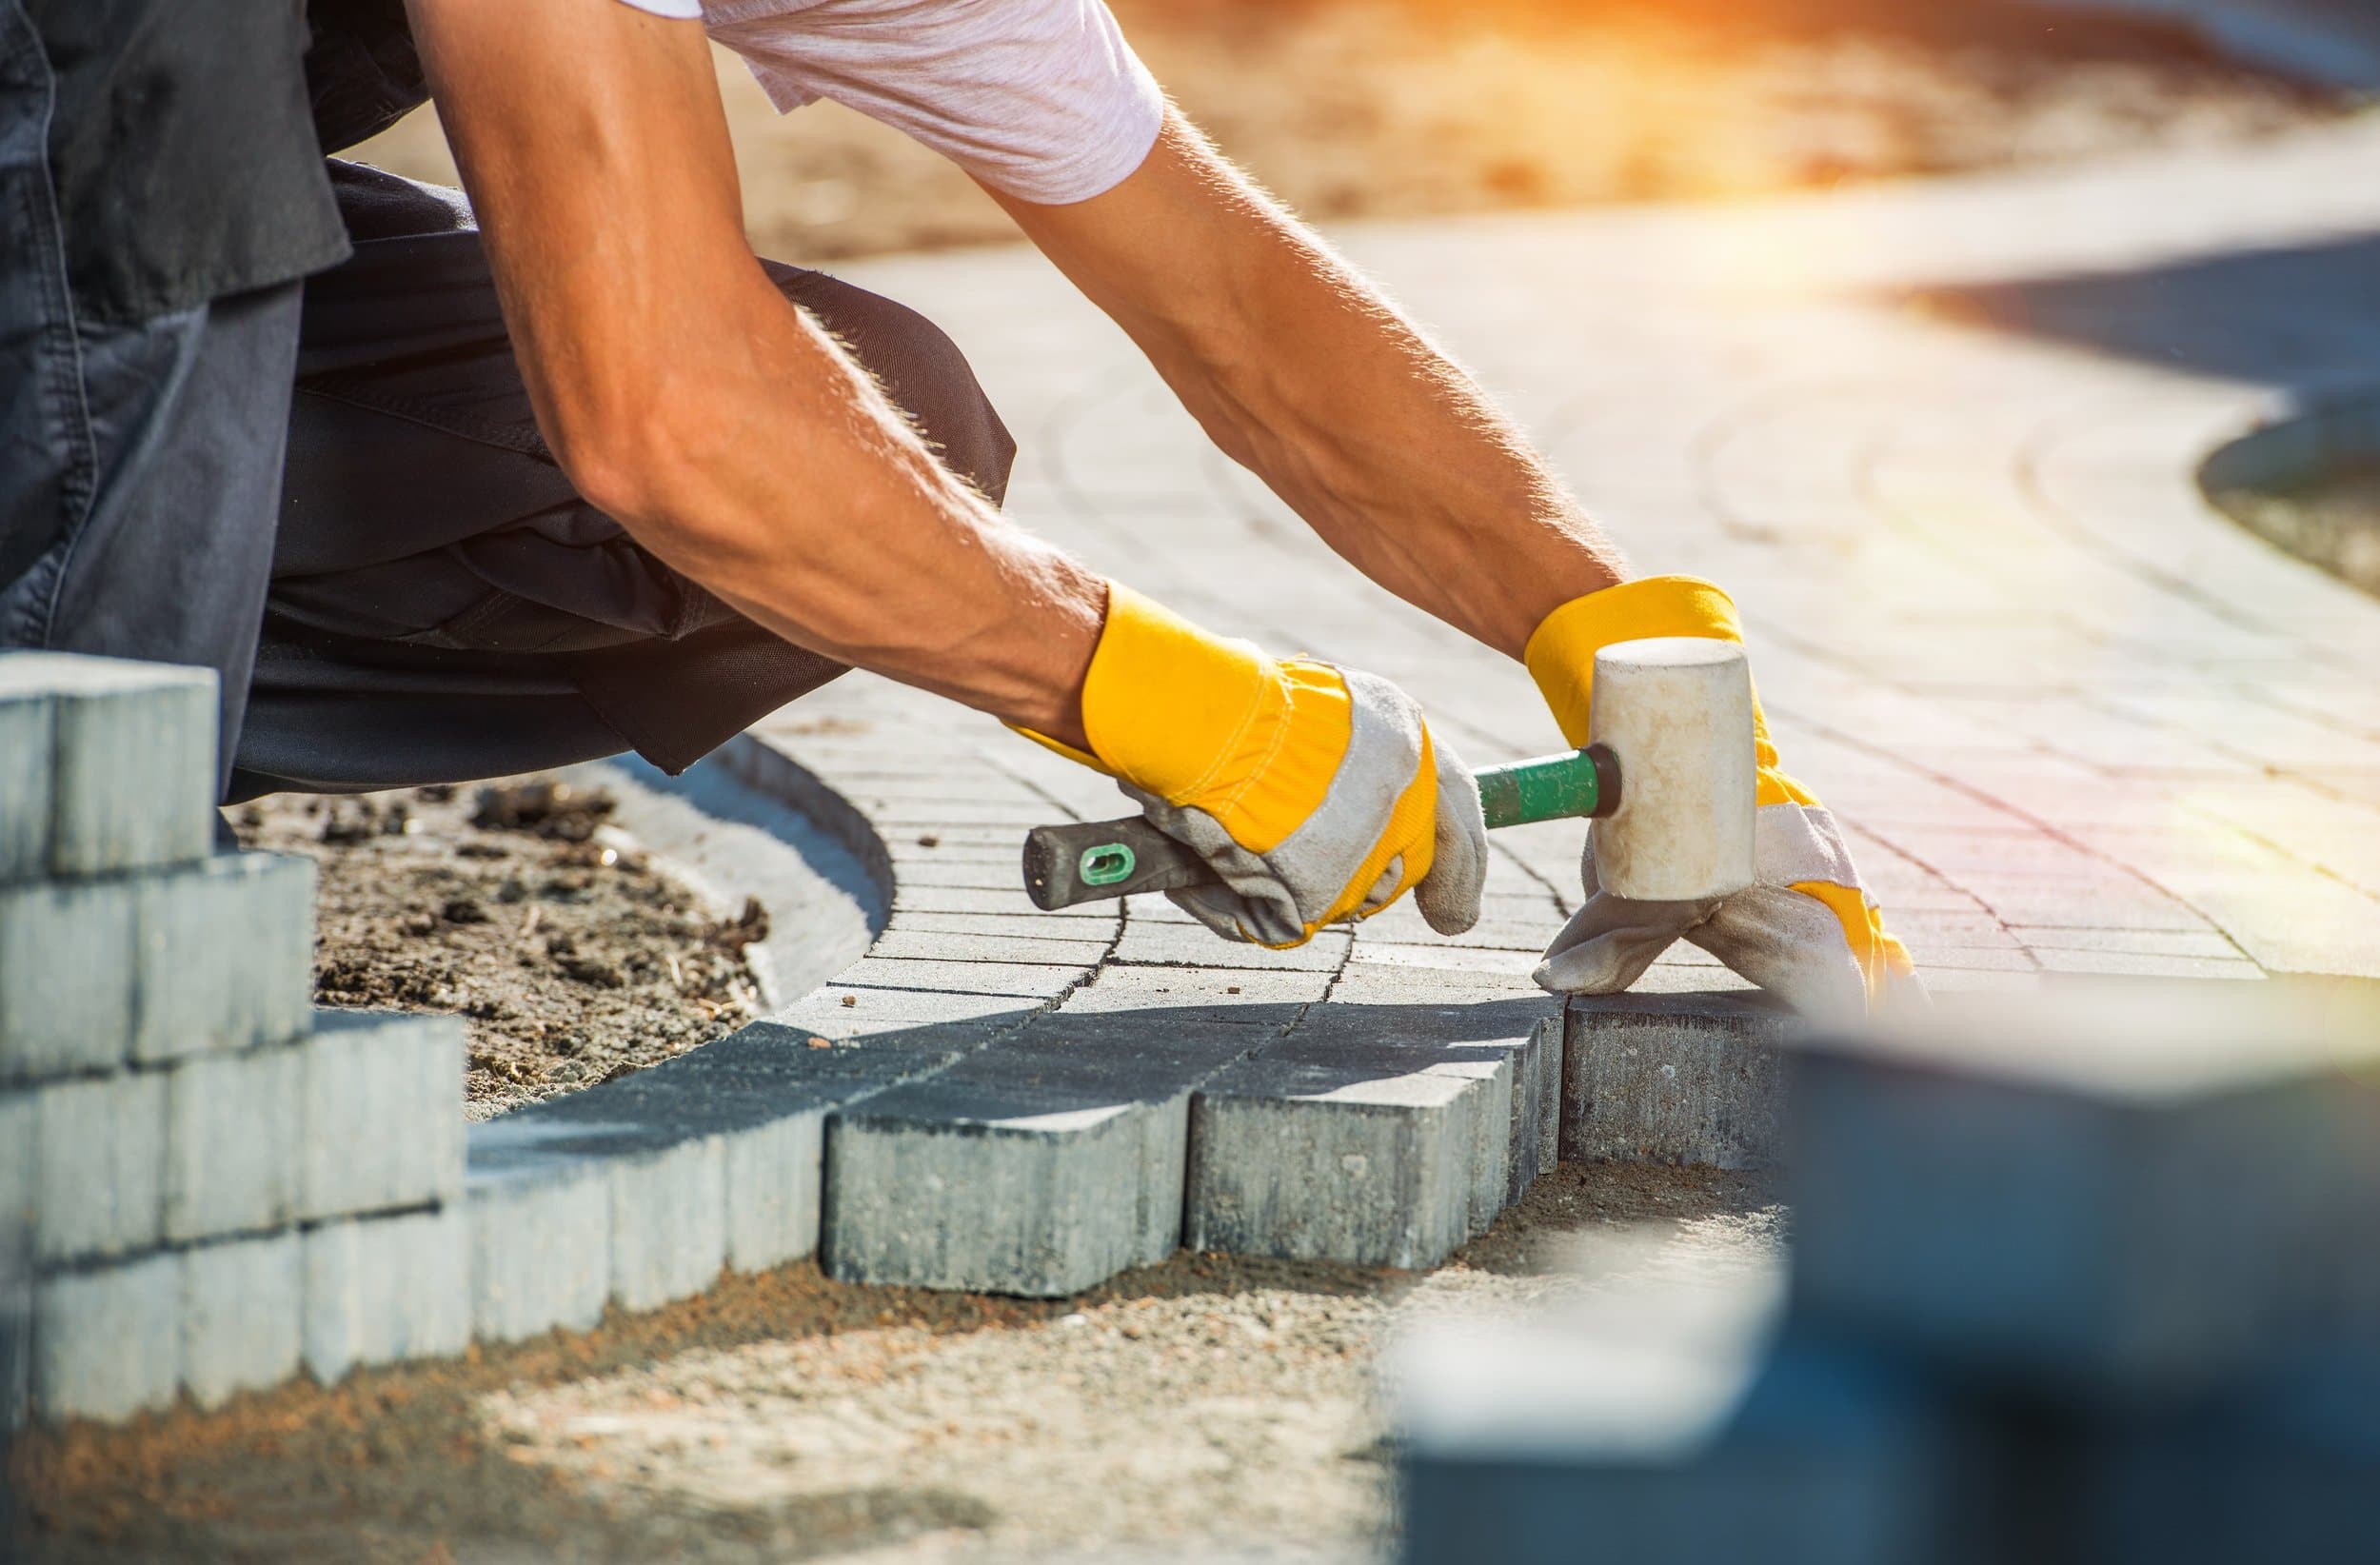
Step 5: Place the Stones
Carefully place the stones on top of the base material, starting at one end of the pathway. Arrange the stones in a pattern that fits your design, leaving equal spacing between each stone for a uniform look. Use a rubber mallet or hammer to tap the stones into place, ensuring they are level and securely set in the base material.
Step 6: Add Edging (Optional)
To keep the stones in place and prevent them from shifting, consider adding edging along the sides of the pathway. Install the chosen edging material firmly against the stones, securing it with stakes if necessary.
Step 7: Fill the Gaps
Once all the stones are in place, fill the gaps between them with additional base material, such as sand or fine gravel. Use a broom or brush to sweep the material into the gaps, creating a stable surface and preventing weeds from growing between the stones.
Step 8: Finishing Touches
Take a step back and inspect your DIY stone pathway. Make any necessary adjustments to ensure the stones are level and evenly spaced. Sweep away any excess base material and clean the surface of the stones for a polished appearance.
Building a DIY stone pathway is a rewarding and creative project that can add an inviting touch to your landscape. With careful planning, the right materials, and attention to detail, you can create a stunning pathway that enhances the beauty of your garden and provides a charming pathway for you and your guests to enjoy. Whether you choose natural stones for a rustic look or sleek flagstones for a contemporary feel, your DIY stone pathway will undoubtedly become a standout feature in your outdoor space. So, grab your tools and embark on this exciting journey to create a beautiful and inviting stone pathway that adds character and elegance to your landscape. Happy building!